There are lots of possibilities with Automator for Figma, and one of them is the ability to import from Airtable directly into Figma.
In this guide, we’ll walk through importing from an Airtable base into Figma using the Airtable API and the “Fetch URL” Automator action.
Step-by-step
1. Duplicate an Airtable template
The first thing we want to do is duplicate an example Airtable template that we’ll use for this automation.
➡️ Duplicate the Product Catalog Template from Airtable into one of your bases.
2. Grab our Airtable API and base keys
Once we’ve duplicated the template into a base, we’ll want to grab our base ID and Airtable API key to use in our automation.
The first thing we want to grab and save for later is the ID of the base. Read this walkthrough on how to get your base ID, it should begin with “app…”
The second thing that we’ll need is your Airtable API key. Airtable has a walkthrough on where to find it here. Save this for later.
⚠️ Important
We should now have both our base ID and Airtable API key to use in our automation. Don’t share your Airtable API key as it’s sensitive.
3. Create our automation
Once we’ve got our Airtable base duplicated, and saved our base ID and Airtable API keys, we can get started on building our automation with Automator.
You’ll be able to run this automation in any Figma file, but I recommend creating a new blank Figma file to work in.
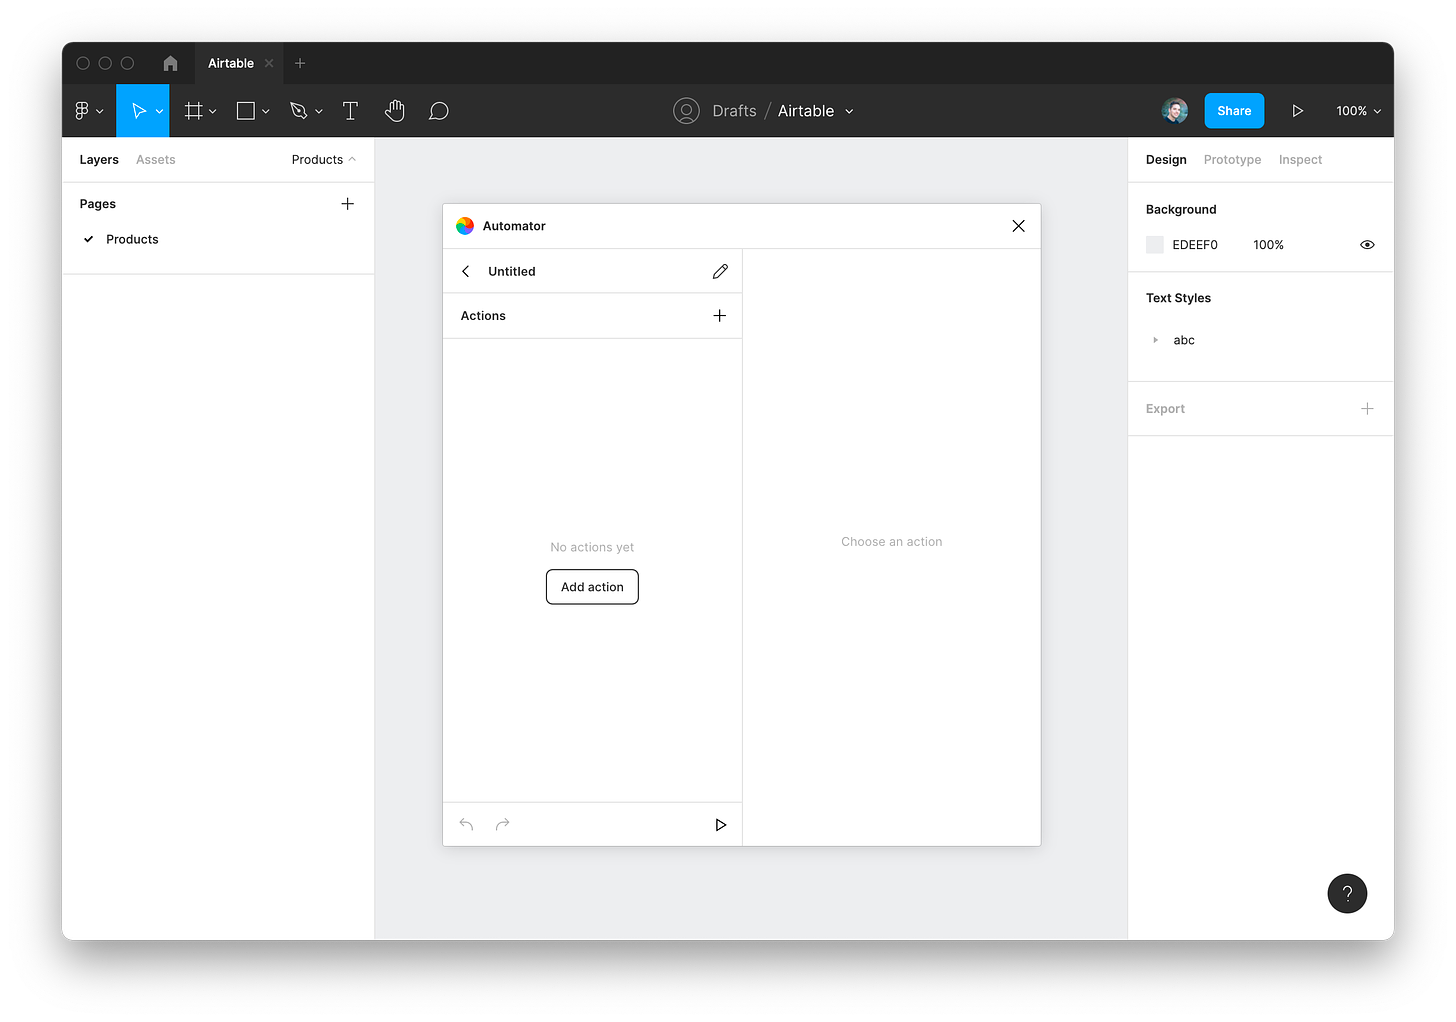
In Automator, press the plus icon from home to create a new automation.
Let’s store our base ID and API key from earlier in custom variables that we can reference in our automation.
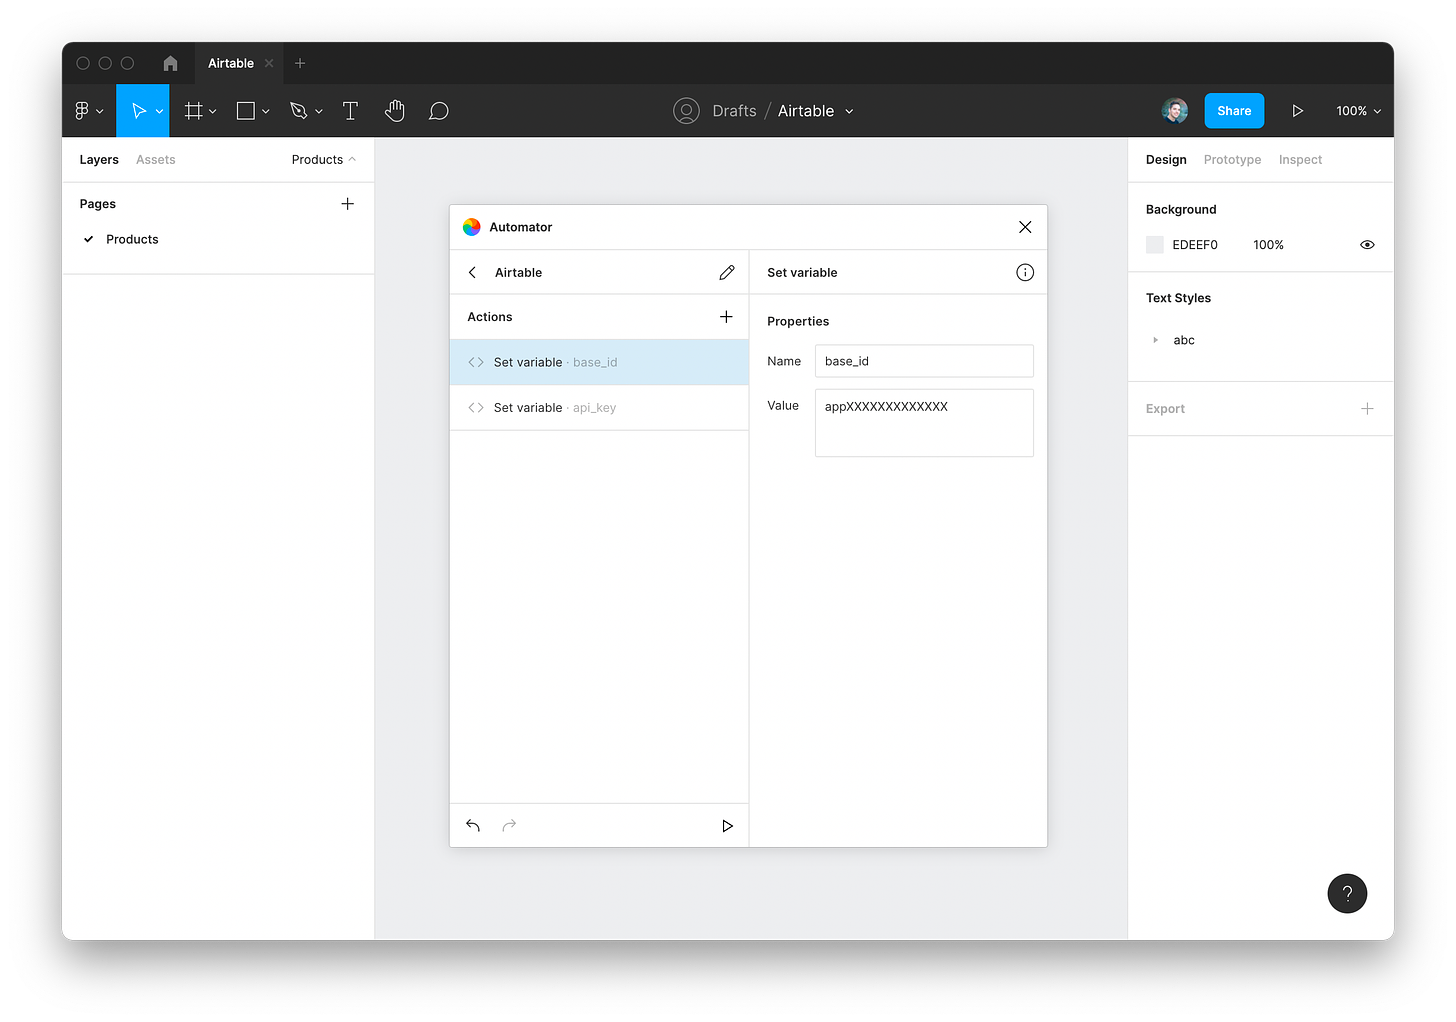
Press the plus icon at the top of our automation to add a new action called “Set variable”. Learn more about defining custom variables in Automator.
Click on the “Set variable” action to edit its properties. Name the variablebase_idand set its value to your Airtable base ID.
Add a second “Set variable” action, and this time name itapi_keyand set its value to your Airtable API key.Add the “Fetch URL” action to our automation. We’ll use this to make an API request to the Airtable API to fetch the products in our table.
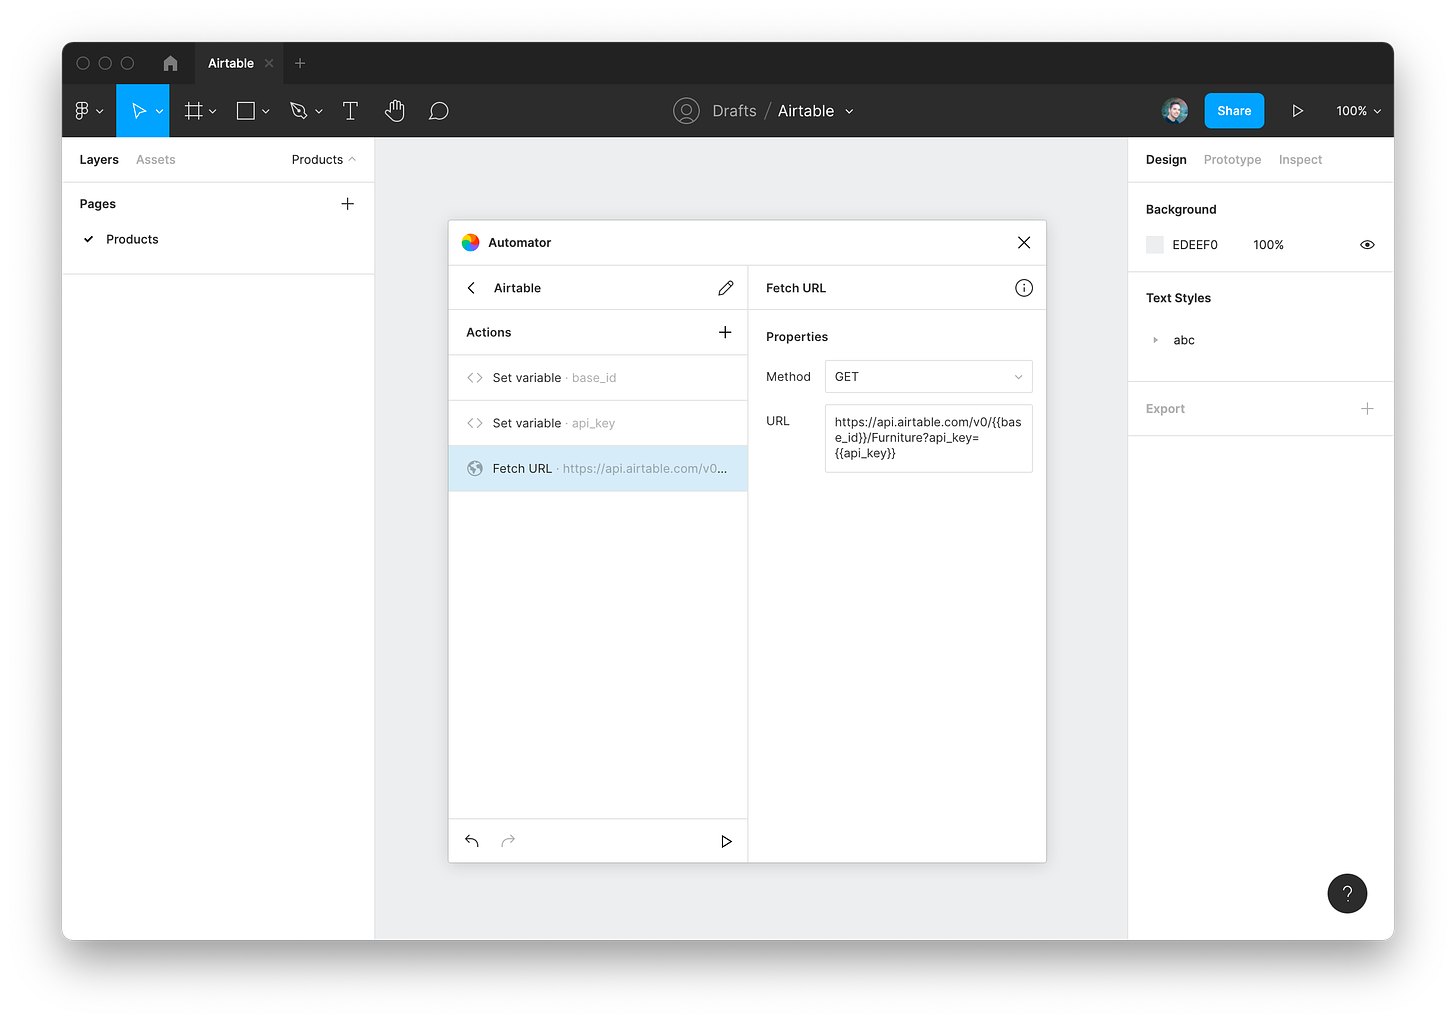
Click on the “Fetch URL” action to edit its properties. Here, we’ll set the URL to the Airtable API URL using our {{base_id}} and {{api_key}} variables to this:https://api.airtable.com/v0/{{base_id}}/Furniture?api_key={{api_key}}
Note: “Furniture” in the Airtable API URL is referring to the Furniture table name in our Airtable template.
ℹ️ Checking in
Your automation should look like the above image so far, with two “Set variable” actions for our base ID and Airtable API key, as well as one “Fetch URL” action with the Airtable API URL set.
Let’s start iterating through the products in our Furniture table and create new Figma frames for each product.
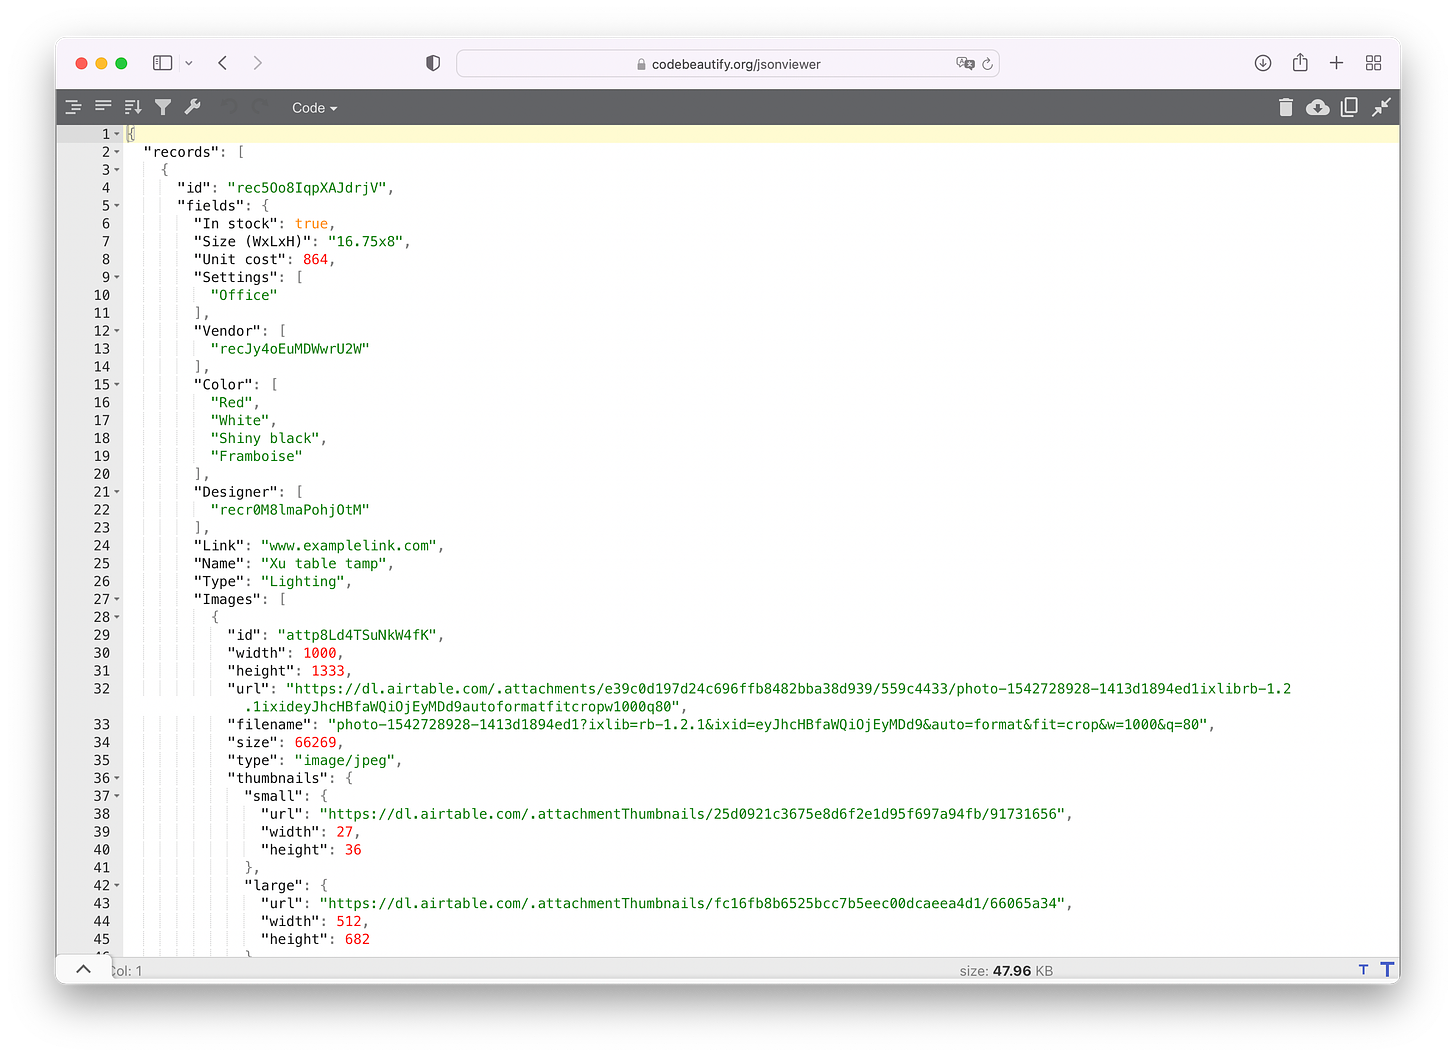
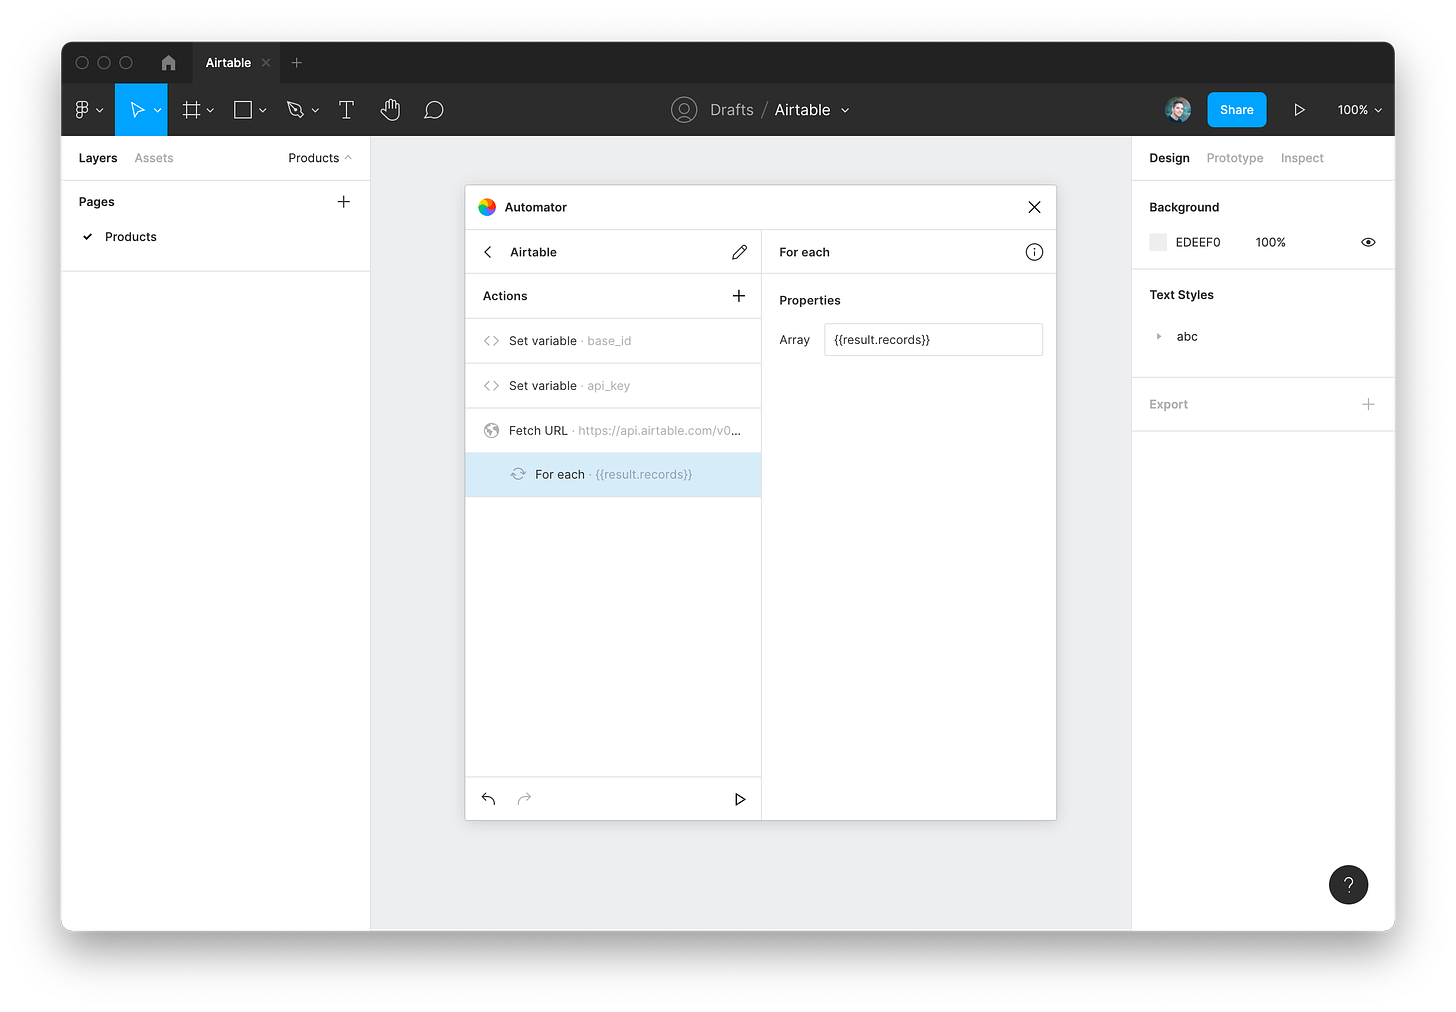
Let’s take quick note of the Airtable API response above. There’s arecordskey that’s an array representing the rows in our table. Each record has afieldskey with objects representing each column in our table.In our automation, add a “For each” action and nest it directly inside of “Fetch URL” action by dragging it. Set its “Array” property to
{{result.records}}.
Theresultvariable contains the response from our Fetch URL action, andresult.recordsis iterating through the each record in the Airtable API response. Learn more about using variables in Automator.Next, let’s add the “Create frame” action to start creating a frame for each product in our Airtable. Nest the “Create frame” action directly inside of “For each” by dragging it. Having our actions nested like this means that we’ll create a frame for each of the records from the Airtable API response.
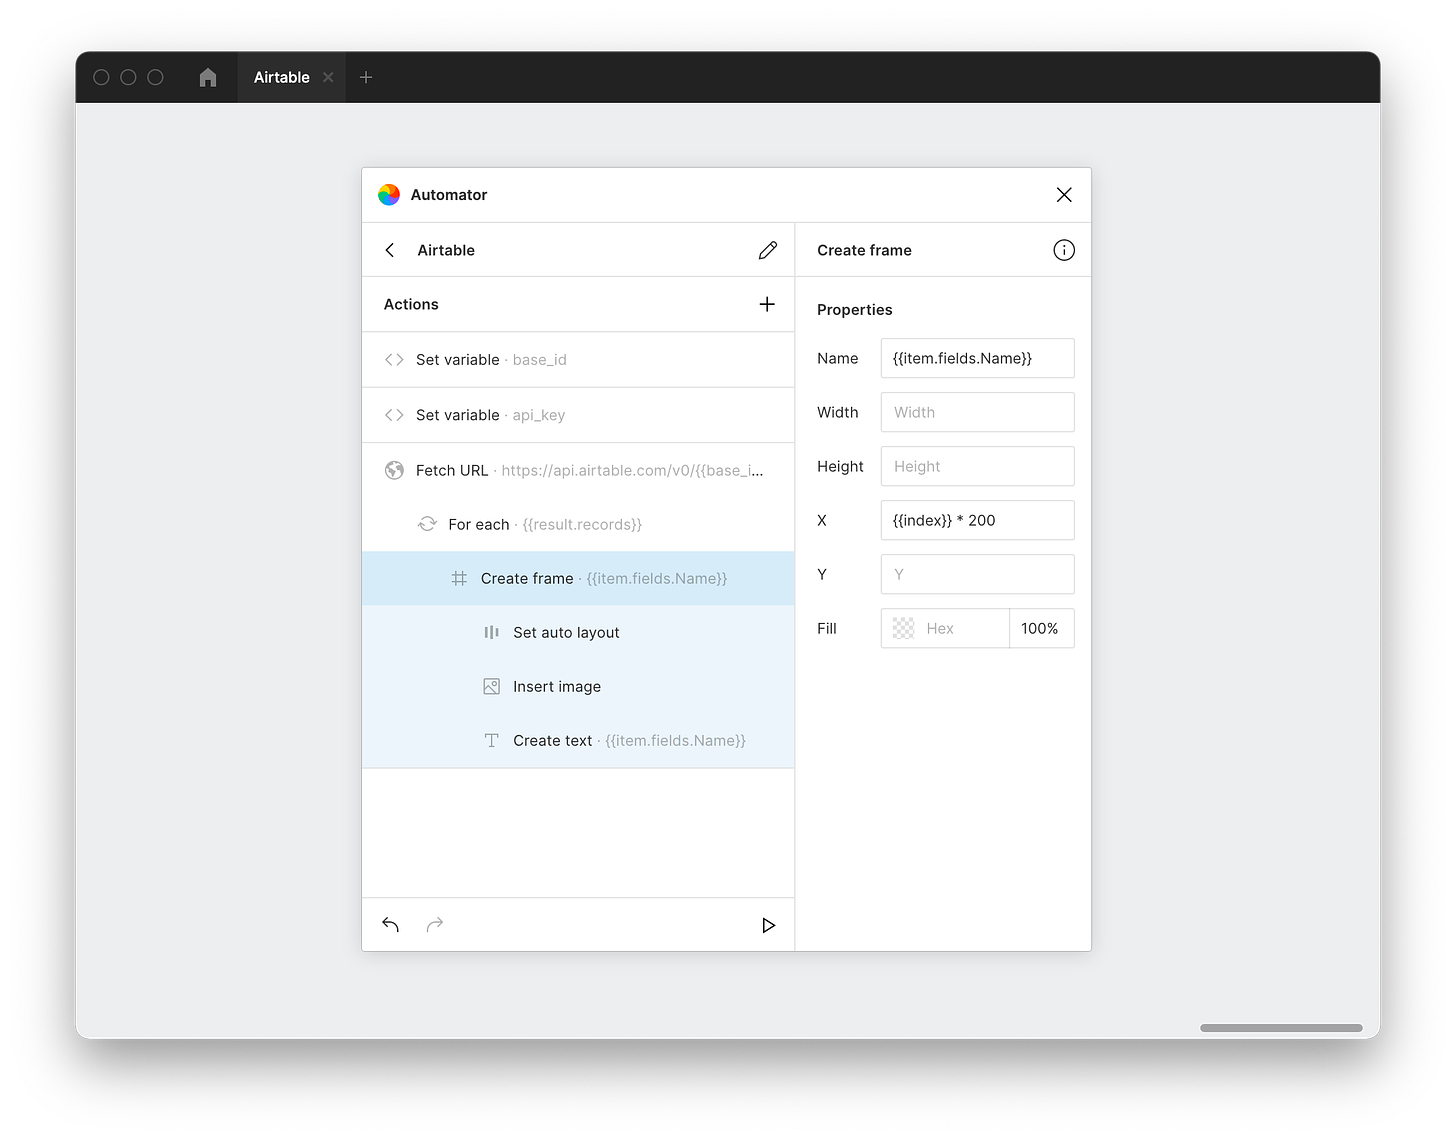
Let’s set the Name property of our frame to{{item.fields.Name}}. The “For each” action exposes anitemvariable for everything that it iterates over, and in our case it refers to each product in our Furniture table. “Name” is coming from the Name column in our table.
▶️ Let’s run our automation
Press the play button at the bottom of our automation. You’ll notice that our automation outputs a bunch of frames stacked on top of one another with each frame as a name of our product in our Furniture table.
By default, new frames are placed at x: 0, y: 0 which is why our frames were stacked on top of one another. Let’s make use of the
indexvariable representing the index of the current iteration in our “For each” loop to offset our frames. Let’s set the X property of our “Create frame” action to:{{index}} * 200
This does a bit of math and will offset our frames so they’re not stacked on top of one another. Later, you can play with the 200 number to adjust the offset.Let’s start adding some content inside of our frames from our table. We’ll walk through adding the product image and the product name.
Add the “Set auto layout” action and nest it directly inside of “Create frame” by dragging.
This makes it so that we don't need to manually position things inside of our frames and they’ll automatically stack on top of one another.Add the “Insert image” action and nest it inside of “Create frame” by dragging. Set the URL property to
{{item.fields.Images.0.url}}Where is this variable coming from? Referring to the Airtable API response JSON screenshot from step 4 above, you’ll notice that there’s an “Images” key that includes an array of image URLs. We’re grabbing the first image URL by usingImages.0.url. to grab the image URL at index 0.Add the “Create text” action and nest it inside of “Create frame” by dragging. Set the Content property to
{{item.fields.Name}}
▶️ Let’s run our automation
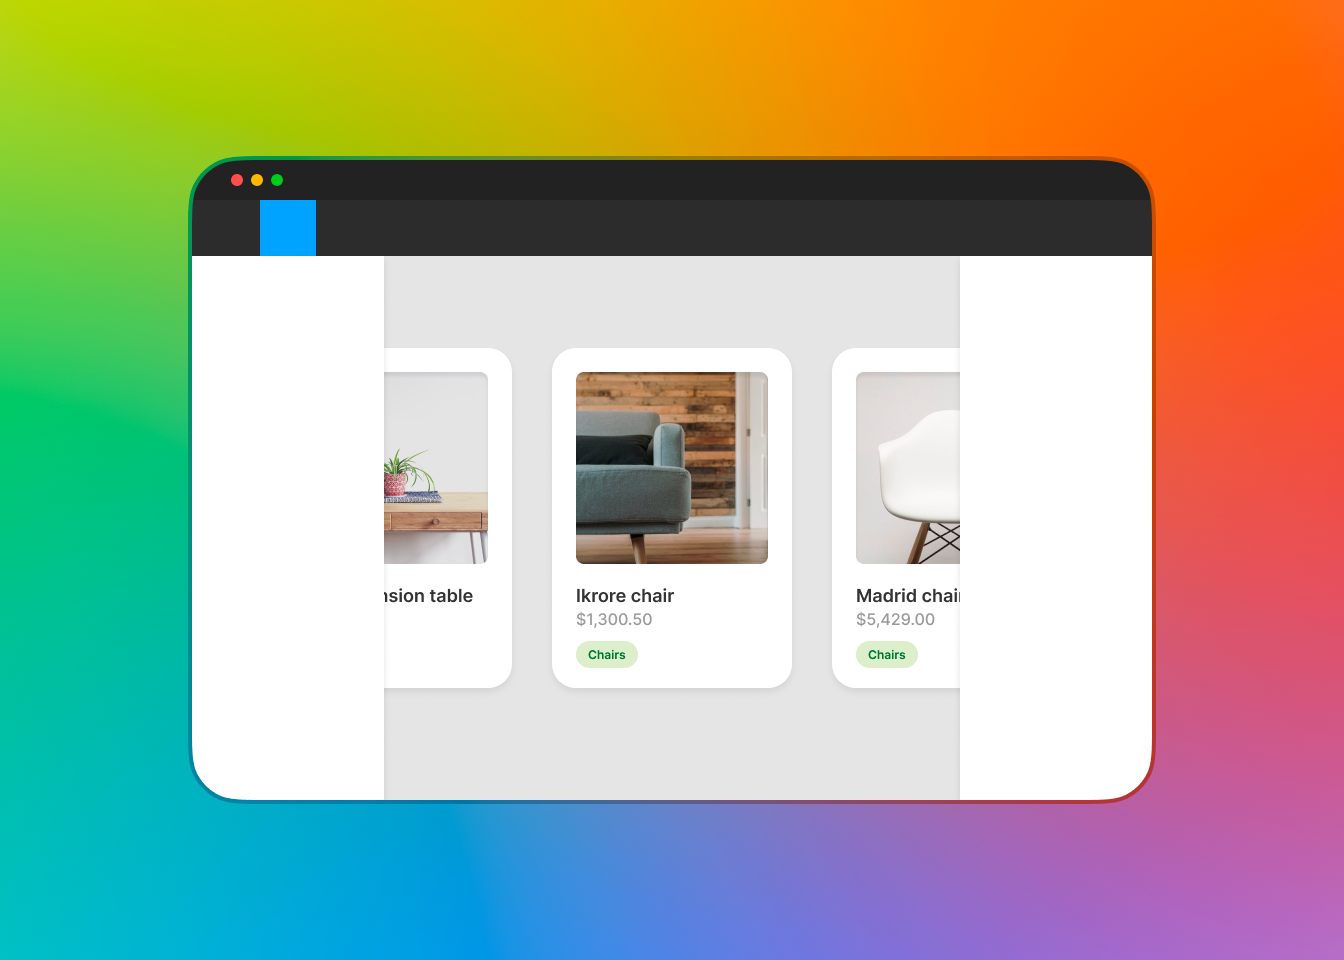
A new auto layout frame is being created for each product, and we’re inserting the product image and product name inside.
🎉 Now you’ve got an automation that’s pulling from an Airtable base and inserting frames for each row in the table. Keep adjusting the automation with new actions to add more styling, change sizing, and make it work with your own table.
💾 Download the working automation
You can download the automation JSON and import it for you to run. Note: you’ll need to replace the
base_idandapi_keyvariables with your own using step 2 from above.






Hi, thanks for laying this out. Is there a good way using Automator to fetch the data from Airtable but update existing text? So, for instance, if I had already fetched the table, but someone had updated the text in the table afterwards - I don't want it to make new frames for each so much as update the existing frames. Any thoughts? Thanks!
Hi, thanks for laying this out. Is there a good way using Automator to fetch the data from Airtable but update existing text? So, for instance, if I had already fetched the table, but someone had updated the text in the table afterwards - I don't want it to make new frames for each so much as update the existing frames. Any thoughts? Thanks!